ECSE 2610 Studio 0 - Xilinx Vivado 16.2 Design Suite Installation on Ubuntu 24.04.1 LTS (Linux)
Before Start
In ECSE 2610 - Computer Components and Operations, we had been asked to install Xilinx Vivado 16.2 Design Suite as a part of Studio 0 assignment.
As there are no official guides on how to install Vivado for Linux users, I am going to show you how I installed that.
You will need
- Around 30GB free space and 7.43GB of them will be taken at the end
- Ubuntu 24.04.1 LTS, Other Linux OS can be used but may need extra work
Dependencies
Warning
Fail to install these dependencies may result stucking on “Generating installed device list” during installing.
To install libncurses5 we need to add deb http://security.ubuntu.com/ubuntu focal-security main universe into APT.
|
|
or using Software & Update to add this source
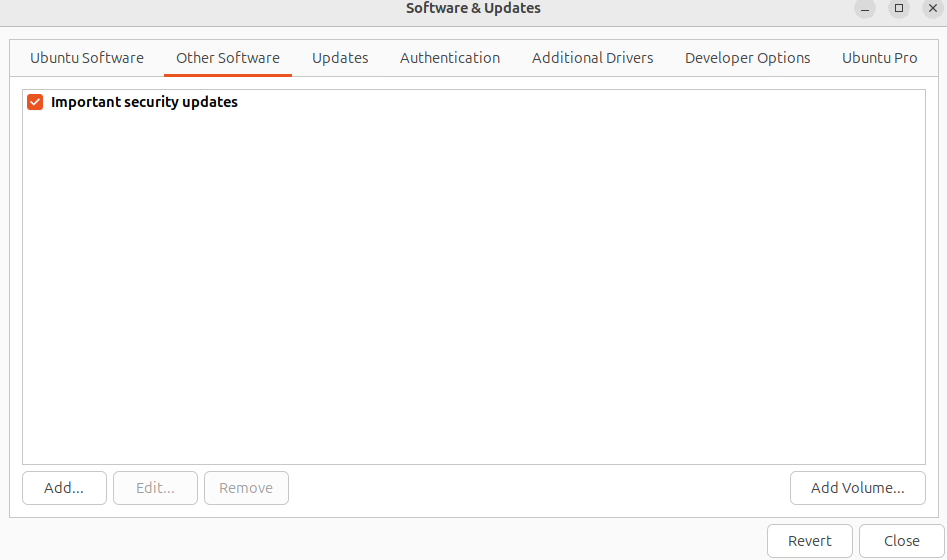
click Add, and type in deb http://security.ubuntu.com/ubuntu focal-security main universe.
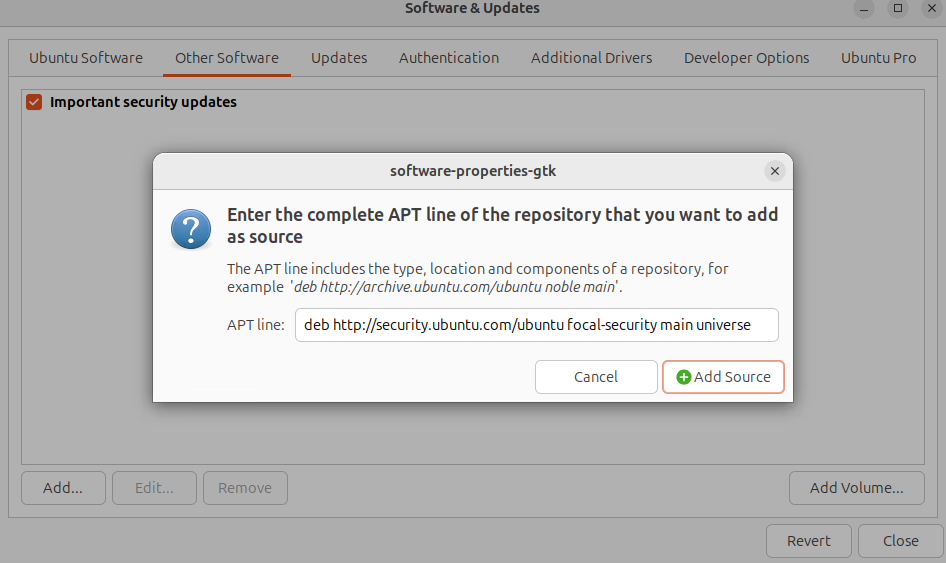
Then, update index and install dependencies
|
|
Check if dependency installed correctly
|
|
You should get something like this
|
|
Preparing
Note
Xilinx is now a part of AMD, so we go to the AMD site instead of what the course material said. Also, the 2016.2 version’s WebPACK is now under free license, so I ignored the licensing part on the Vivado Design Suite Installation (Windows).
First, you need to get from the AMD website or use my downloaded achieve. To do that, go to a path that is free enough and run
|
|
Check the MD5 sum value, it should equal to 0e41f991e5d89410ad5ed6d30407f379
|
|
If not, the file may be damaged. Then, unzip the achieve file.
|
|
Then, go into the decompressed folder
|
|
This is how it look like
|
|
Installing
The xsetup in Xilinx_Vivado_SDK_2016.2_0605_1 folder is the installer for Linux. To run it, we can execute it in terminal
|
|
Sometime, it went wrong. Like xsetup is not executable or permission denied. Try
|
|
Note
You can execute without sudo, but the installing folder can not be opt/Xilinx, since non root user can not write there. We will cover this later.
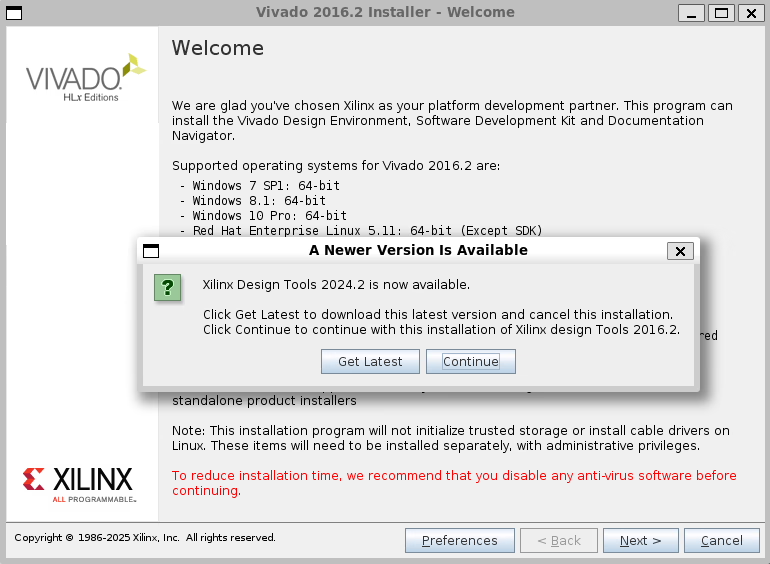
Click Continue to skip the newer version. And it will gives you a welcome page with supported system information.
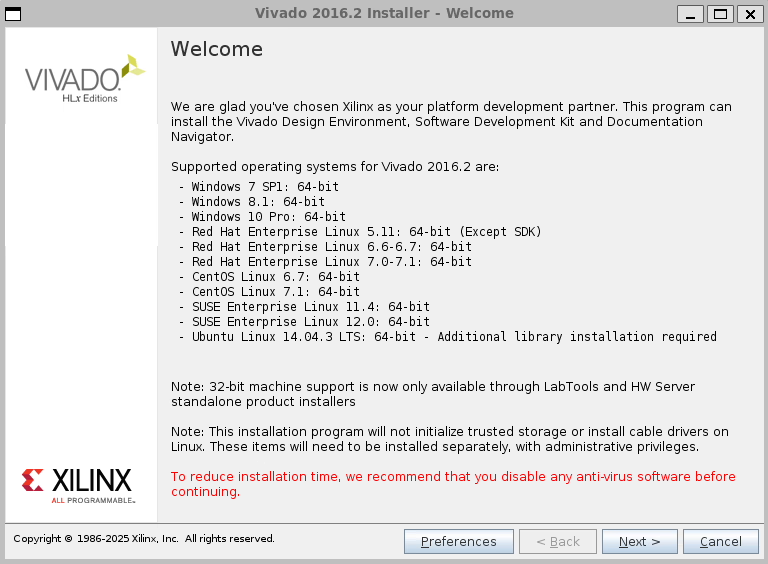
Ubuntu 24.04.1 is not in the list but it’s fine. Click Next.
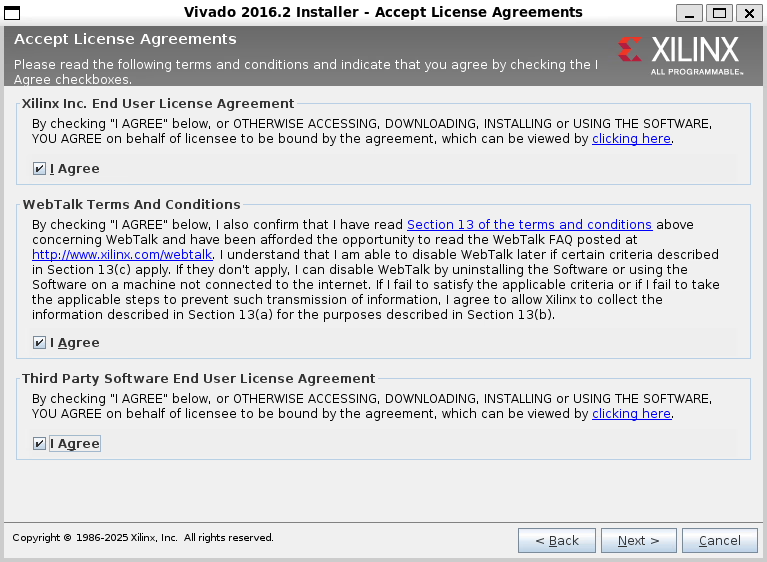
Agree all there argument by ticking check boxes, then click Next.
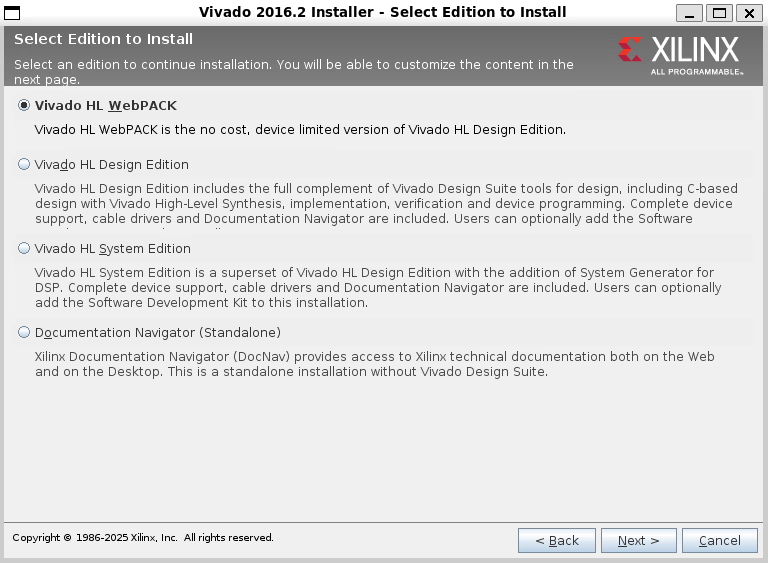
Vivado HL is now under free liense. So, just pick Vivado HL WebPACK. Then, click Next.
HL WebPACK no longer needs a FLEX license file!
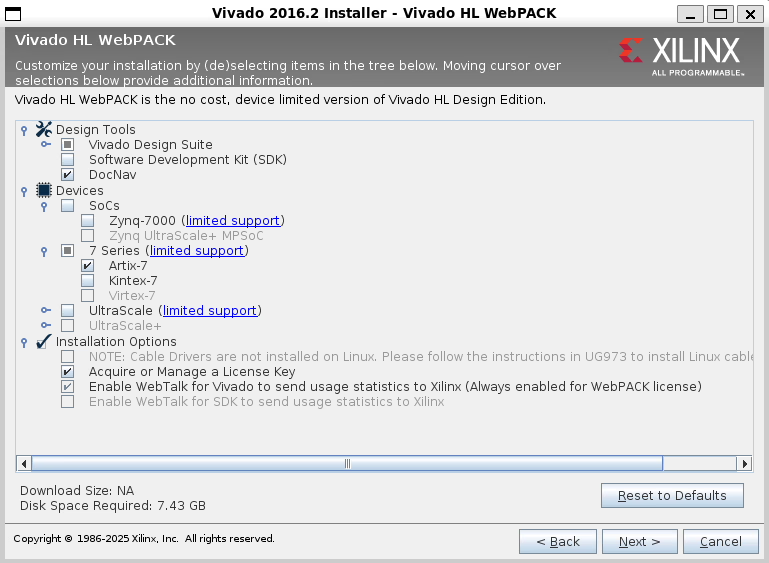
Select the parts you need for your project. ECSE 2610 uses Basys 3 Artix-7 FPGA Trainer Board, so I just checked Artix-7. Then, click Next.
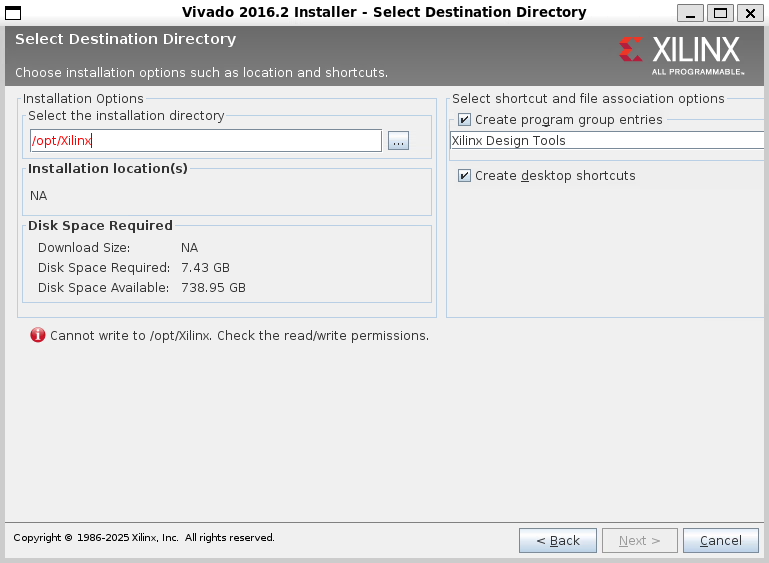
We need chose a path to install Vivado 2016.2, /opt/Xilinx shows red is because non root user can not write there. You can change it to your user home directory. I will use /home/james/Xilinx where james is my user name.
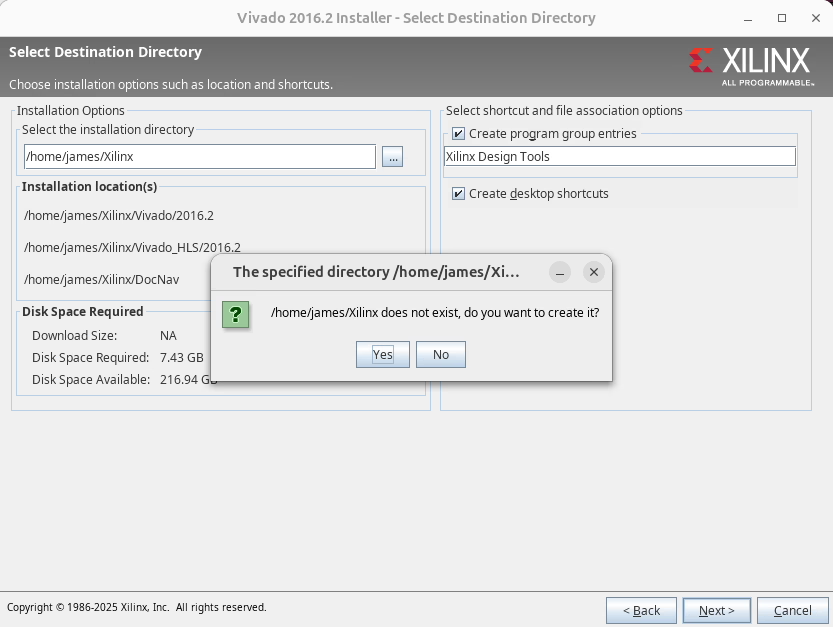
Create the path as it asked. Then, click Next.
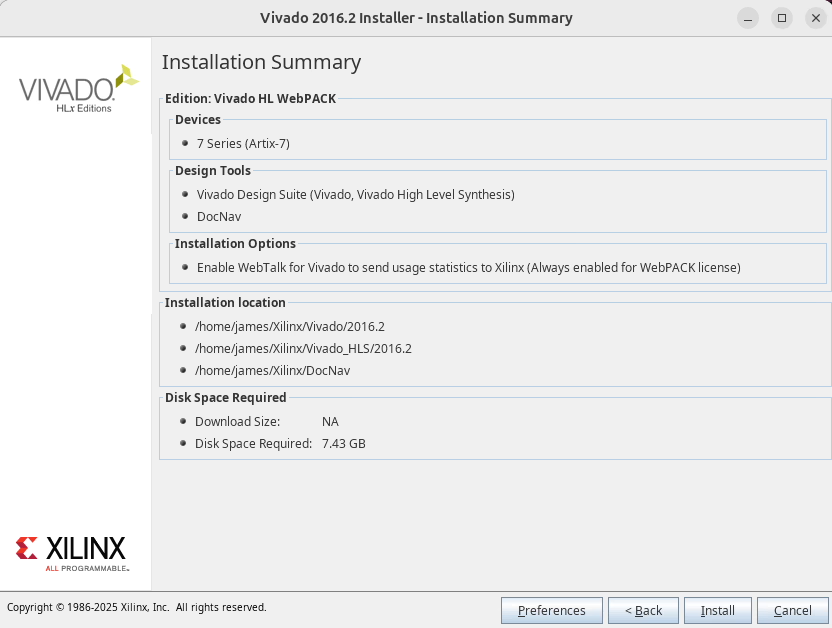
Check the summary and click Next.
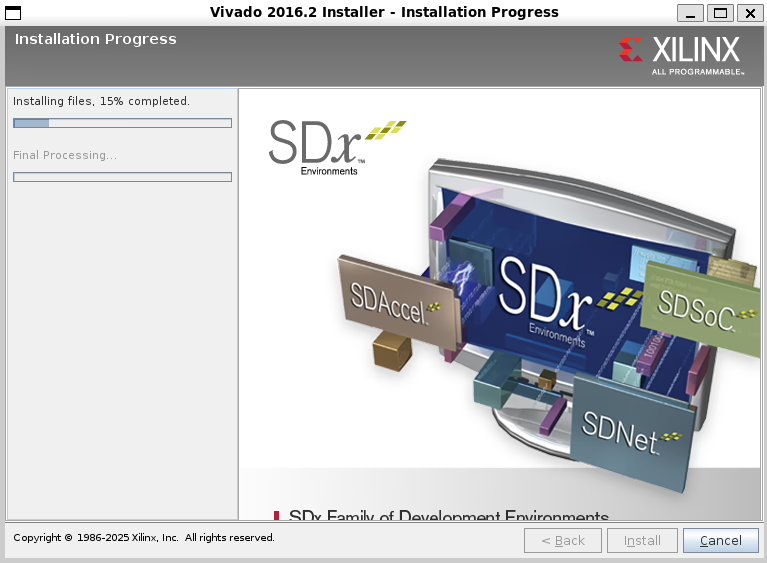
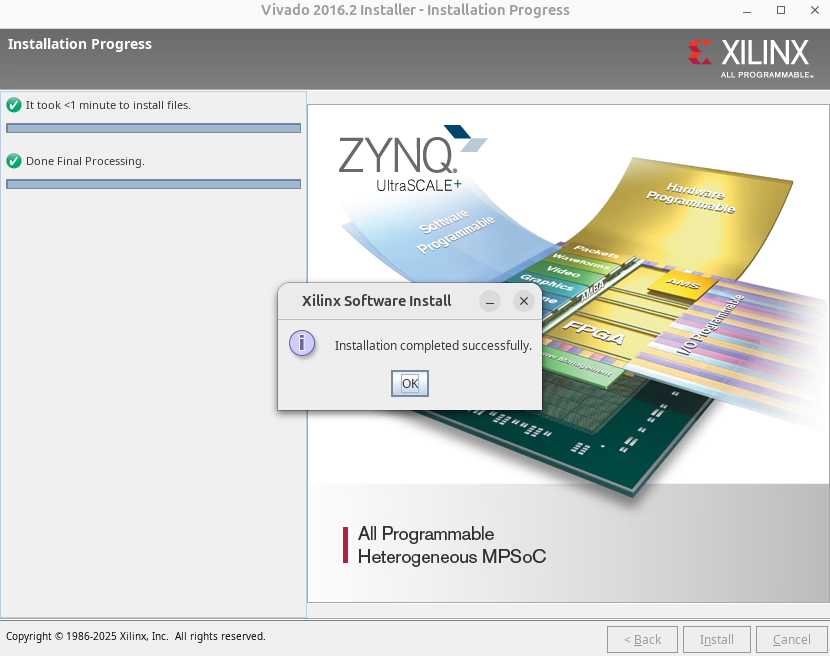
The installation progress will begin. Sometime, it will gives an error on accessing remote resources. This is due to redirection from Xilinx to AMD. Click OK to ignore the warning.
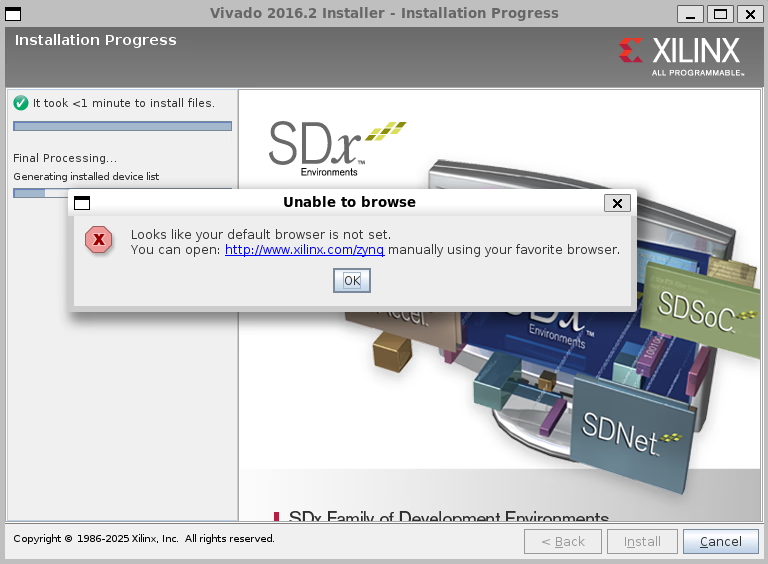
Then, we are done.
Checking
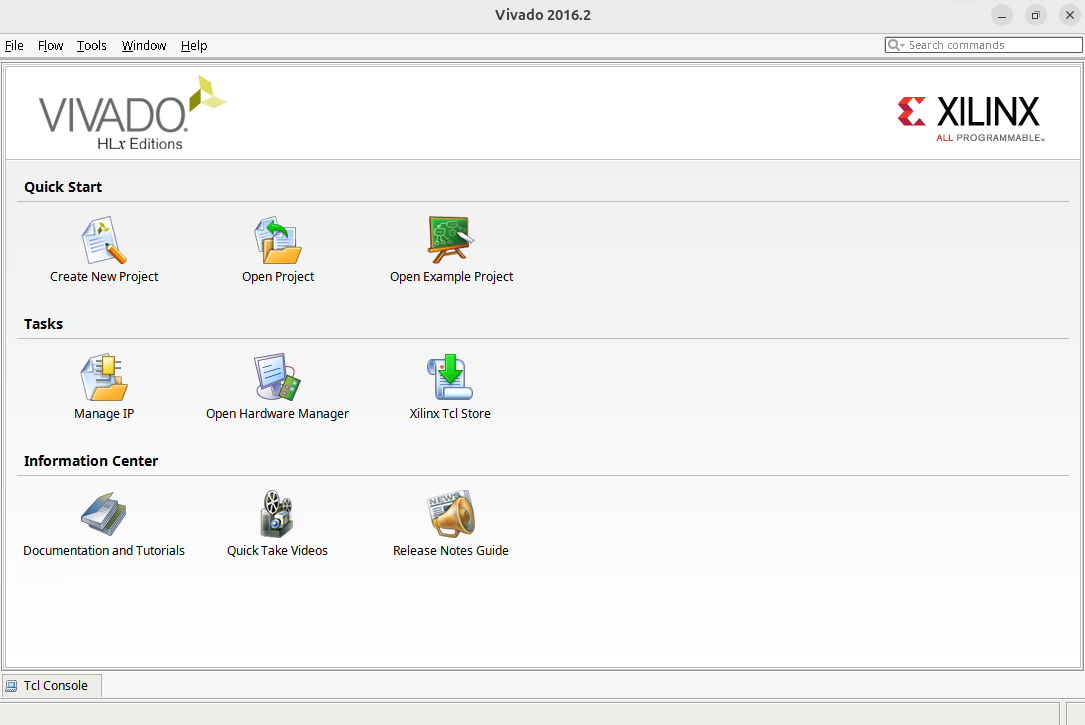
Then, you can open Vivado 2016.2 though desktop shortcuts.
Uninstall
If you want uninstall Vivado 2016.2, you can use the builtin uninstalling shortcuts. Or removing the installing directory. For example
|
|
Then, clean the shortcuts in /home/james/.local/share/applications. james is my user name, change it to your own.
Troubleshooting
If you got an error, you may check the log under the installing path, for example
|
|
The path of log will be shown as long as you started installing with ./xsetup. If you still can’t fix the issue, you can comment me with logs for a check.
Vivado Installation Got Stuck Says, “Generating installed devices list”
Based on the discussing on Vivado installation got stuck says, “Generating installed devices list” and some more information. It’s due to lack of libncurses5 package. And Ubuntu 24.04.1 doesn’t contain it, since it’s an old package. You need to install it manually.
One possible solution
|
|
Related Content
- ECSE 1010 Proof of Concepts - Alpha Lab03
- ECSE 1010 Proof of Concepts - Omega Lab02
- ECSE 1010 Proof of Concepts - Omega Lab01
- CSCI 1100 - Test Crib Sheets
- CSCI 1100 - Homework 8 - Bears, Berries, and Tourists Redux - Classes